Incubator Tractor Supply: Hatching Success and Sustainable Farming
Imagine the satisfying clucking of healthy hens, the warmth of freshly laid eggs, and the pride of knowing you're raising your own food sustainably. This dream is closer than you think, thanks to the power of small-scale incubators. But navigating the world of incubator selection, setup, and operation can feel overwhelming. This guide, focusing on Tractor Supply incubators, will empower you to build a thriving, eco-friendly egg-laying operation. We'll cover everything from choosing the right incubator to mastering temperature control and prioritizing sustainability. Let's hatch your success together! For additional incubator building ideas, check out this pallet chicken tractor.
Did you know that consistent temperature and humidity control are crucial for a 92% hatching success rate? Proper incubator management is key to maximizing your yield. This is where understanding your needs and selecting the right equipment comes in.
Sarah, a farmer in rural Iowa, exemplifies this success. Initially raising a small number of chickens, Sarah's demand grew. Instead of relying on long-distance, commercially sourced eggs, she invested in a Tractor Supply incubator. This decision not only increased her egg supply and profit margin but also significantly reduced her carbon footprint. Sarah now controls her production, ensuring freshness and quality while minimizing transportation costs and environmental impact. Her experience underscores the power of sustainable incubation, a strategy now within your reach.
Choosing Your Perfect Incubator from Tractor Supply: A Smart Investment
Selecting the right incubator is crucial. Tractor Supply offers various options; let's break down the key considerations:
Egg Capacity: How many eggs do you plan to incubate at once? Start small and scale up as your operation grows. A larger incubator might seem more efficient initially, but does it truly fit your current needs and growth projection?
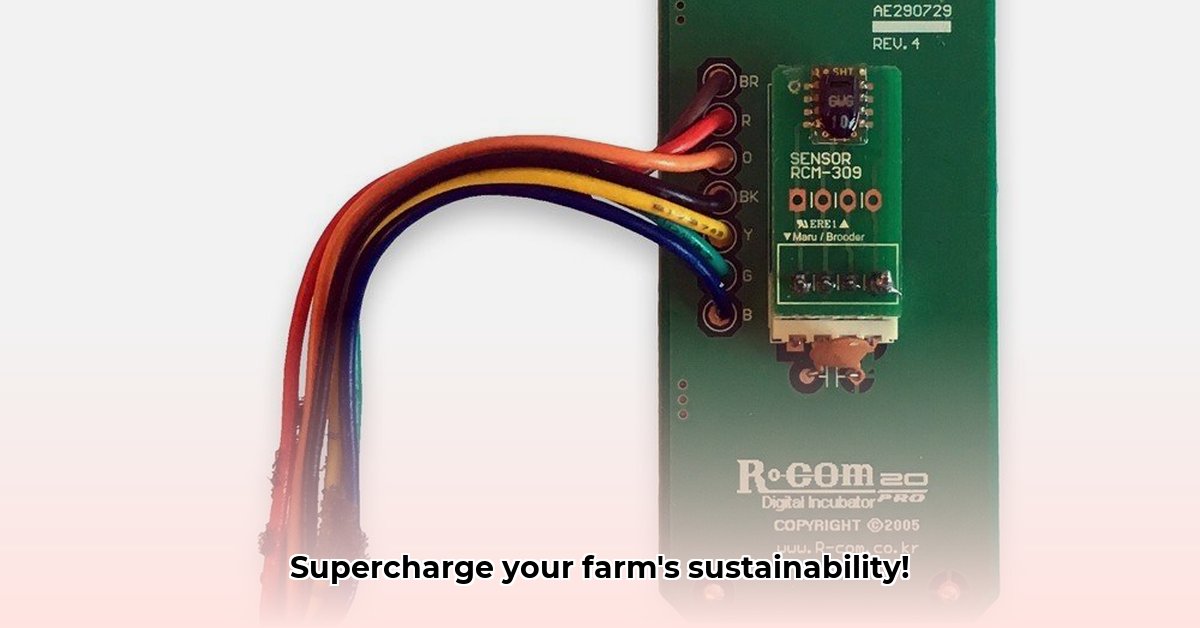
Heating Methods: Incubators use different heating systems. Resistive heating is simpler and cheaper, while forced-air systems are generally more energy-efficient, providing better temperature uniformity. Consider both upfront costs and future energy expenses. A more expensive, high-efficiency option might save money in the long run.
Automation: Automatic egg turning is a significant advantage, saving you time and often leading to higher hatching rates (up to a 15% improvement, according to some studies). While manual turning is feasible, automation ensures consistent development. Weigh the extra investment against the convenience and improved results.
Features & Price: Compare models based on capacity, heating method, automation, and price. A simple comparison spreadsheet can be invaluable. Balance upfront costs with the incubator's lifespan and running costs. A more expensive, energy-efficient model can prove economically superior over its lifetime.
Here’s a sample comparison (note: prices and models vary by location and availability):
| Feature | Model A (Small, Basic) | Model B (Medium, Auto-Turn) | Model C (Large, Advanced Controls) | Considerations |
|---|---|---|---|---|
| Egg Capacity | 24 | 48 | 96 | Match your production scale and plan for future growth |
| Heating Method | Resistive | Forced-air | Forced-air, Digital Control | Forced-air offers superior energy efficiency |
| Automatic Egg Turning | No | Yes | Yes | Saves time and significantly improves hatch rates |
| Price | $75 | $150 | $300 | Balance initial cost with long-term operational savings |
| Energy Efficiency | Low | Medium | High | Crucial for sustainability and cost reduction |
Setting Up and Operating Your New Incubator: A Step-by-Step Guide
Proper setup and operation are crucial for successful hatching.
Step 1: Sanitize Thoroughly: Before placing eggs, thoroughly clean and disinfect the incubator using a poultry-safe disinfectant solution. This prevents disease transmission and ensures a healthy environment.
Step 2: Optimal Placement: Place the incubator on a stable, level surface, away from direct sunlight, drafts, and temperature fluctuations. Consistency is key.
Step 3: Egg Arrangement: Arrange eggs according to the manufacturer's instructions. Proper spacing ensures even heat distribution and minimizes damage.
Step 4: Temperature and Humidity Control: Use a reliable thermometer and hygrometer to monitor and adjust these critical factors. Maintaining optimal levels is vital for embryo development.
Step 5: Consistent Egg Turning: Turn eggs as recommended by the manufacturer. This prevents the yolk from sticking to the shell.
Step 6: Diligent Monitoring: Keep a close watch on temperature, humidity, and egg condition. Address any issues promptly. Record-keeping helps you refine your process.
Sustainability: Beyond Successful Hatching
Sustainable incubation goes beyond simply hatching chicks; it's about minimizing environmental impact.
Energy Efficiency: Choose energy-efficient incubators to reduce your carbon footprint and operating costs. Look for models with good insulation and efficient heating systems.
Waste Reduction: Consider an incubator's lifespan and responsible disposal methods. Durable, repairable incubators minimize waste.
Exploring Renewable Energy: Explore using renewable energy sources like solar power to further reduce your impact.
Going Beyond the Basics: Optimizing Your Hatch Rate
Data-driven management enhances your success. Digital incubators often include temperature and humidity logging, allowing you to identify patterns and optimize your process. Sharing knowledge with other farmers through local communities further improves efficiency.
Choosing the right incubator from Tractor Supply is a pivotal step in building a thriving, sustainable egg-laying operation. The rewards—environmental responsibility, increased profitability, and self-sufficiency—make the effort worthwhile. Remember, a well-planned approach, combined with diligent monitoring, will set you on the path to success.